I've been impressed with Robo3D. They've sent me replacement parts, and my "out-of-the-box" experience required only minor tweaks, so I went for the "Kit Option" for my 2nd printer.
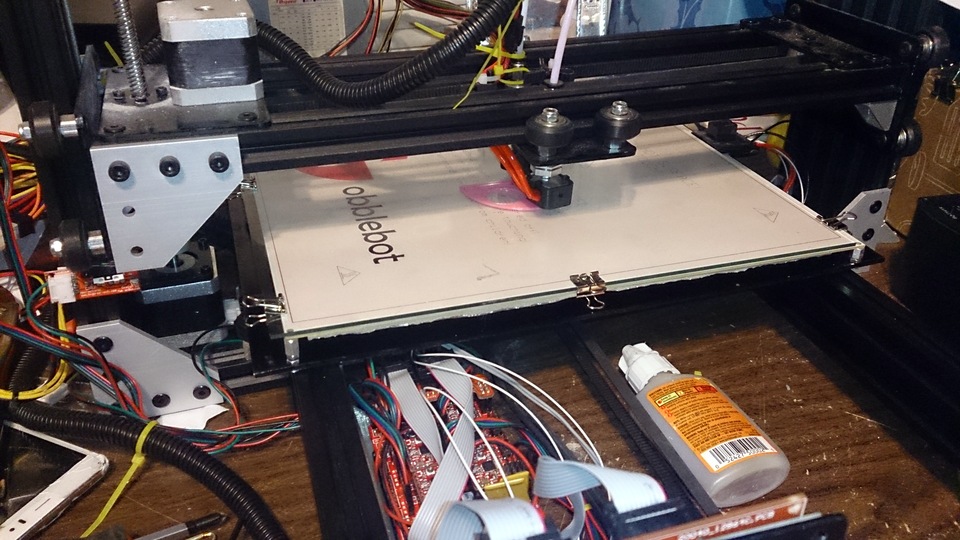
My CobbleBot Vanguard, IMHO, is unfinished. There were no/missing instructions for:
- Putting the guide wheels together (you needed to add some spacers or the bearings wouldn't function properly)
- Breaking in the Z Ballscrew
- Aligning the Z Axis so it doesn't bind
- Routing the wires (and with 2 extruders, neatness counts...)
- Mounting the extruders (the supplied Teflon tubing wouldn't let me put them in the "obvious spot").
- Proper home-switch mounting
- Mounting the heated bed (thank you Mac Quillian)
- Calibrating the stepper motor drivers
And so far, operation has been challenging:
- Adjusting the Z0 height (Robo3D had an adjustment screw; now it has autolevel)
- Since only one side is driven in Z, there is considerable droop across the X axis.
- CobbleBot seriously underestimated the required power supply. 10A may be fine without a heated bed, but with the heated bed, you need >16A (the bed draws a little over 10A on its own!). I'm now using an ATX power supply with 24A capacity.
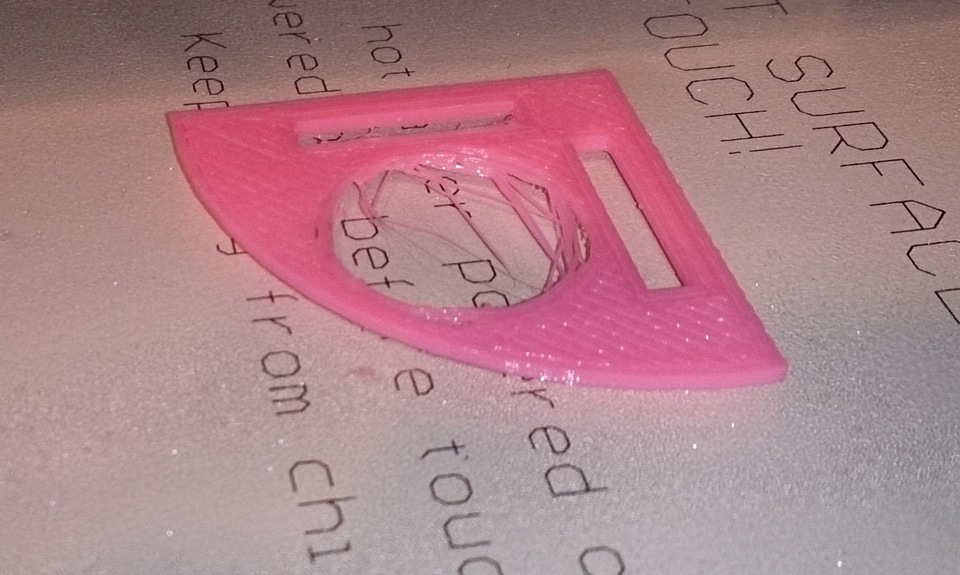
But... it is Alive. Now to dial it in....