Monthly Archives: April 2016

Ruffles for 3D Printing…

 Just a note I saw... interesting concept if you have a solid 0-backlash Z mechanism:  make the hotend travel in waves so now your "molten layer" isn't a single height all the way around.  Should make for a much stronger print!
http://makertum.com/en/interlocking-non-planar-layer-fdm/

CobbleBot dual extruder test

Works, but needs more work.

image

CobbleBot Vanguard XL is Alive!

I've been impressed with Robo3D.  They've sent me replacement parts, and my "out-of-the-box" experience required only minor tweaks, so I went for the "Kit Option" for my 2nd printer.

My CobbleBot Vanguard, IMHO, is unfinished.  There were no/missing instructions for:

  1. Putting the guide wheels together (you needed to add some spacers or the bearings wouldn't function properly)
  2. Breaking in the Z Ballscrew
  3. Aligning the Z Axis so it doesn't bind
  4. Routing the wires (and with 2 extruders, neatness counts...)
  5. Mounting the extruders (the supplied Teflon tubing wouldn't let me put them in the "obvious spot").
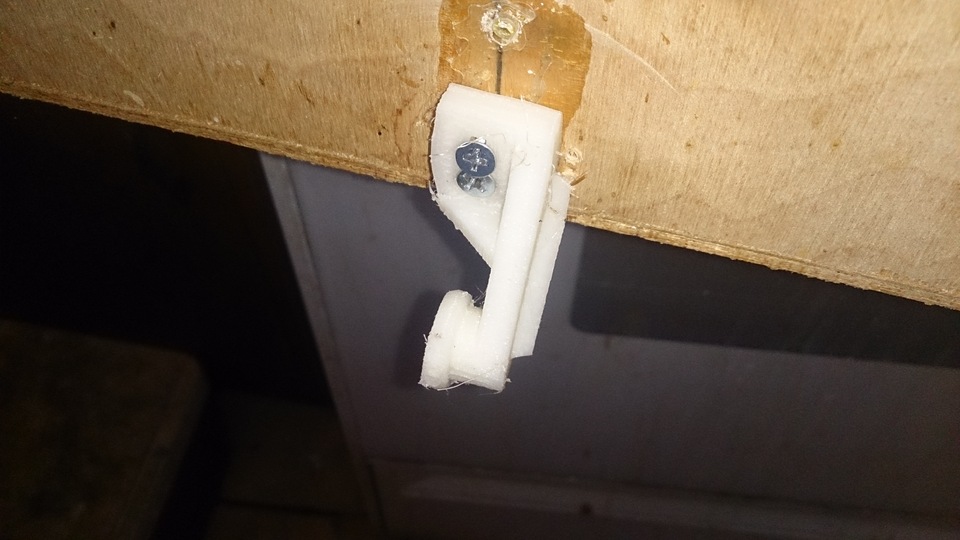
  6. Proper home-switch mounting
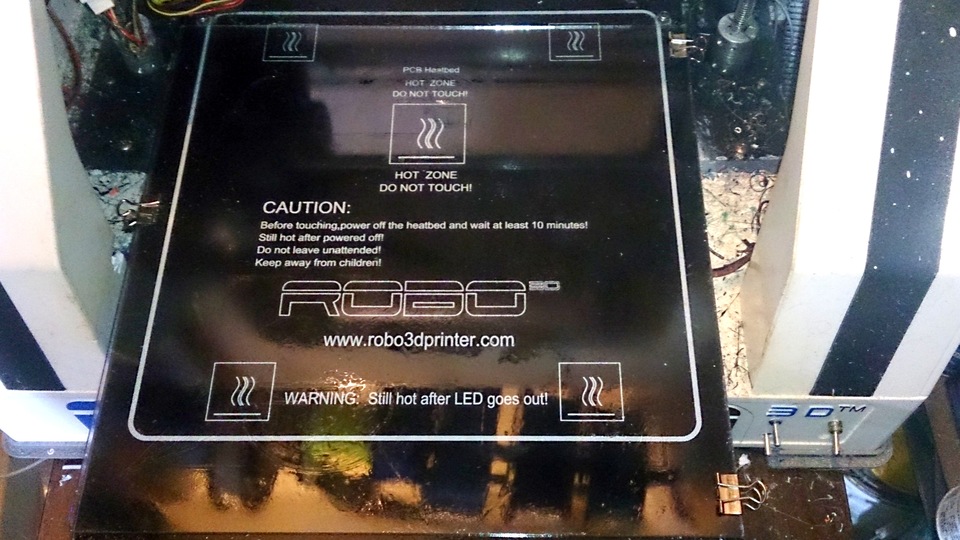
  7. Mounting the heated bed (thank you Mac Quillian)
  8. Calibrating the stepper motor drivers

And so far, operation has been challenging:

  1. Adjusting the Z0 height (Robo3D had an adjustment screw; now it has autolevel)
  2. Since only one side is driven in Z, there is considerable droop across the X axis.
  3. CobbleBot seriously underestimated the required power supply.  10A may be fine without a heated bed, but with the heated bed, you need >16A (the bed draws a little over 10A on its own!).  I'm now using an ATX power supply with 24A capacity.

But... it is Alive. Now to dial it in....

2016 04 13 21 40 59
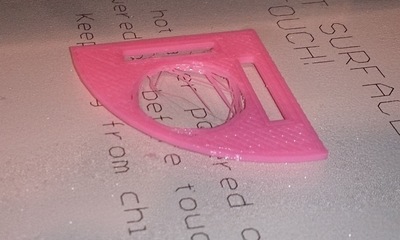
The Nickel Calibration Piece
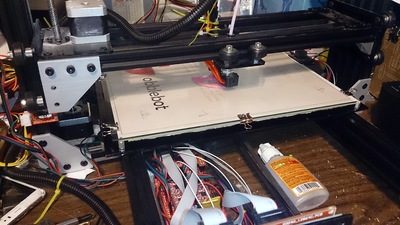
2016 04 13 21 38 11
2016 04 13 21 38 11

Drawer Slide-Nylon

I couldn't find the slider-idler bracket for my kitchen drawer at Home Depot, so I printed one.

2016 04 03 13 14 26
http://www.thingiverse.com/thing:1461630

No, it doesn't roll, but the drawer still works well.  I printed it in Nylon so it's dang near indestructible.

Robo3D [KS] Glass Plate

 A lot of people are worried about contaminating the bearings and bushings if they use hairspray; I decided to use a removable plate of glass to not worry about the issue:

2016 04 02 15 13 51
Glass plate held in with binder clips.  Sorry about the filament bits!
  1. Go to Lowes (since Home Depot won't cut glass) and get a 10x12" piece of glass.  Have them trim it to 10x10 (unless you want to drill holes in it for the bed bolts to go through it.  Better yet, get 2 or 3 so you can have 1 "ready" for easy swapping.
  2. Cut a notch in the front-left leg so you can have the full range of motion without hitting a micro-binder-clip
  3. Apply hairspray/abs juice/etc to the plate of glass while it is not in your printer.  Wait for it to dry.
  4. Secure it to your printer with 3 binder clips.  Be sure it's flat on the bed with nothing between the bed and the glass.
  5. Adjust Z height if you don't have autolevel.

Now you can print with hairspray without worrying about it contaminating your bearings!